Instalacja Gitlab Runner

W tym wpisie pokażę krok po kroku, jak instaluję GitLab Runnera w praktycznym, produkcyjnym scenariuszu. Skupię się na sprawdzonym podejściu, które stosuję na co dzień — bez zbędnej teorii, za to z naciskiem na poprawną konfigurację, bezpieczeństwo i typowe pułapki, na które łatwo trafić przy pierwszym uruchomieniu runnera.
Jeśli korzystasz z GitLaba do automatyzacji procesów CI/CD i chcesz mieć pełną kontrolę nad tym, gdzie i jak wykonywane są joby, ten materiał jest właśnie dla Ciebie.
Krok po kroku
Section titled “Krok po kroku”-
Utworzenie maszyn wirtualnych
Section titled “Utworzenie maszyn wirtualnych”- Definicja vm gitlab-runner-1022
- Definicja vm gitlab-runner-1023
- Definicja vm gitlab-runner-1024
-
Utworzenie repozytoriów
Section titled “Utworzenie repozytoriów”- Definicja repozytorium dev.rachuna/infrastructure/gitlab-rachuna-net/ansible
-
Utworzenie projektu ansible
Section titled “Utworzenie projektu ansible”- ansible 1.0.2
Definicja hostów
host_vars/ct01002/gitlab-runner.yml -
Napisanie roli ansible
Section titled “Napisanie roli ansible”- gitlab-runner 1.0.2
-
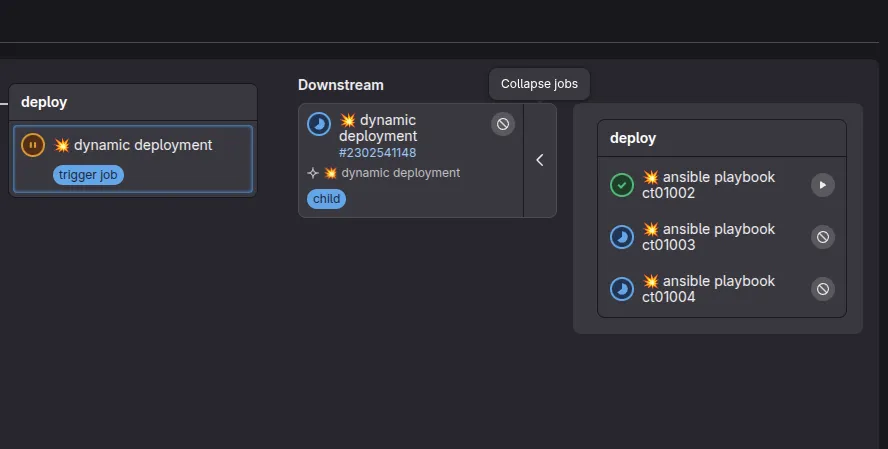
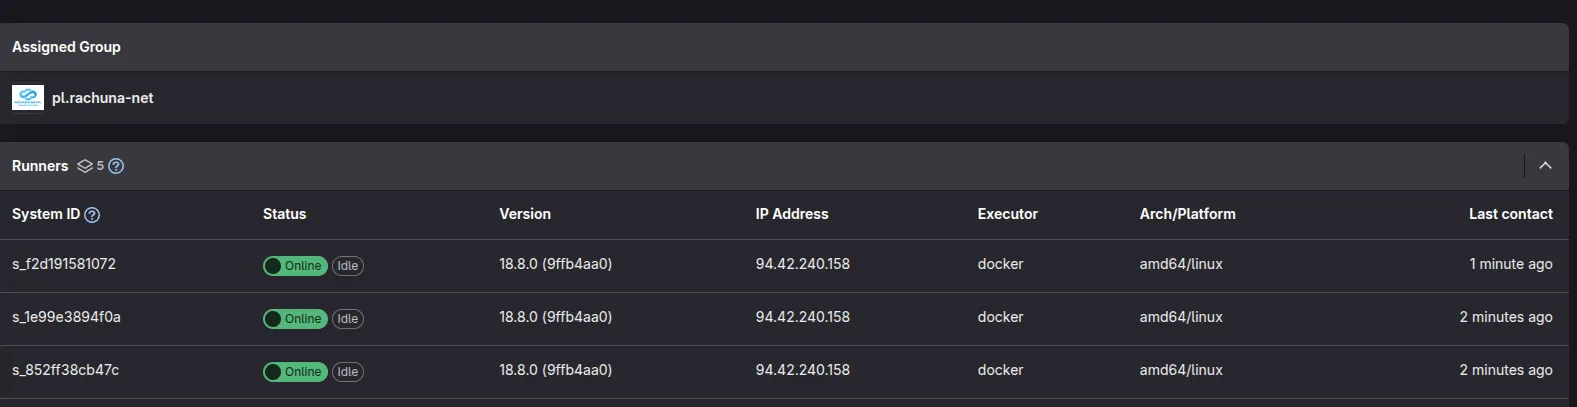
Uruchomienie procesu CI/CD
Section titled “Uruchomienie procesu CI/CD”